TrainingPeaks Coach User Guide
This Guide is intended to walk you through each setting and feature of your TrainingPeaks Coach Account. We encourage you to watch this short video to get you started, and then follow each step in the guide to get your account working for you!
1. Coach Account Settings
Account
Account settings is where you can update your personal information, change your account type, update your payment information, and change the settings and layout for your account. Any layout changes you make will only affect your account; your athletes have their own settings.
Profile: Create a Public Profile to be listed in the TrainingPeaks' coach directory. There are a lot of athletes looking for a coach, and a good public profile will help them find you! Optimize your coach profile
In this section, you can also update your personal information, upload a logo that connected athletes will see in their account, and change your password.
Subscription & Payments
View your account type, billing history, and update your payment information. You can also view your training plan sales.
Settings
Edit your unit preference (i.e., Imperial/Metric), date format, temperature unit preference, and wind speed preference.
Redirect URLs
You can update the redirect URLs with your business website address; by default, they will be TrainingPeaks-affiliated. Updating these URLs will take athletes to your site when they click your logo at the top of their account, if their login fails, or when they log out of their account. It's all about representing you and your brand!
Email Options
Opt in to the TrainingPeaks newsletter to stay up to date on the latest feature updates, continuing education opportunities, and more!
Notifications
Configure which notifications you receive for which athletes. Notification options include uploaded workouts, comments from your athletes, or suggested threshold changes, and can be set for Notification Center (Web), Mobile, and Email.
Note: Some of these features are for premium features and require the athlete to have a Premium Athlete Account.
Layout
Layout allows you to customize what you see on your Calendar, the Week Summary, QuickViews, and what metrics are available in your account. Any changes you make do not affect your athletes' accounts.
Default View
Choose which page you land on each time you log into your account.
Calendar: Workout
Moving data items from 'Available' to 'In Use' will make them visible on your calendar.
Tip: Use fewer data items to save room on your calendar.
Calendar: Compliance
Completed workouts can be colorized based on compliance. Compliance options include planned Duration, Distance, or TSS, providing your athletes with immediate feedback and allowing you to see how they are doing at a glance. Moving the data item up or down in the list prioritizes it, with the item in the first position being given top priority. If the workout was completed within 20% of the plan, the workout will turn green, within 50% it will turn yellow, and over or under by more than 50% will turn orange. If it is not completed, it will turn red.
QuickViews: Workout
The QuickView for workouts can be customized based on what is important to you. Dragging data items from 'Available' to 'In Use' makes the fields visible in the workout QuickViews and are sport specific meaning that you can set up different views for different sports.
QuickViews: Metrics
Your athletes can track subjective data such as overall feeling, soreness, and fatigue by clicking the plus icon on their calendar. Configure the metrics you are tracking by dragging them from 'available' to 'In Use'.
Week Summary:Annual Training Plan (ATP)
After you have created an Annual Training Plan you can the ATP items to the week summary of your calendar by dragging them from 'Available' to 'In Use'. This makes the items visible on the right side of the calendar to help guide your weekly planning.
Note: You must have a completed Annual Training Plan (ATP) for these items to appear.
Additional Resources
Click here to enroll in a free, in-depth mini course on using the Annual Training Plan.
2. Calendar
The calendar is where you plan and analyze your athletes' training. See detailed description of each of the icons below.

-
 Plan a Workout, log a Metric, add a Goal or Event
 - Click
 to use the Workout Builder to automatically create a structured workout containing detailed intervals.
 -
 Athlete Library: Add or manage athletes or create a new group.
 -
 Save a Workout to your Workout Library for future use
 -
 Training Plan Library: Create, Share, or Manage a Training Plan
 - Analyze a device file
- Click on a Workout to access the Quick View which contains summary information about the workout
-
 Click Analyze to analyze a file with charts and graphs in the Expanded View
-
 Refresh page
 -
 Search workouts
Expanded View
The expanded analysis view is where you go to perform in depth analysis of your athletes' uploaded workouts.
- Click the Files button
 to download the original file or recalculate metrics.
 - Click the summary button
 to return to the QuickView.
 - Click the charts icon
 to open the charts library and add new charts to your view.
 - Click the comment icon
 to review the workout description or add and review comments.
 - Click the elevation icon
 to perform an Elevation Correction.
 - Go the corner of a chart and drag this icon
 to resize the window.
3. Home
The Home view provides you with an easy way to get an overview of each of your Athlete Groups to see who needs immediate attention. The Home view provides a quick overview of an Athlete Group's recently updated workouts, upcoming planned workouts, recently updated metrics, threshold changes, and even if an athlete's account is expiring and needs to be upgraded.
Colored Compliance Dots
Colored compliance dots show how well your athlete's completed workouts for the last 7 days, or if they need to catch up on uploading or filling in workout details. If an athlete had multiple planned workouts on a day they must all be compliant for the dot to turn green, otherwise, it will be yellow.
Alerts
Alerts indicate if an athlete may need to have their threshold settings updated or their training plan adjusted due to illness or injury. You will also receive an alert if an athlete's self-paid Premium account is going to expire soon and they need to renew their Premium subscription or be converted to a Coach Paid Premium account.
3. Activity Feed
The activity feed on the right side of the Home view provides more detail about recent activity from that selected group of athletes
- Completed workouts
- Workout comments
- Threshold notifications
- Completed metrics
You can filter the feed to show only completed workouts, workout comments, metrics, or unread items using the icons at the top of the feed. A blue dot to the right of an item in the feed indicates that it hasn't been read yet.
4. Dashboard
The dashboard allows you to monitor progress and track trends over time. New charts can be added to your dashboard from your charts library. Many of the charts can be customized by date range, sport type, and/or channel. The dashboard is where you'll find the Performance Management Chart.
- Drag and drop charts to your dashboard from your charts library .
- Customize charts under under settings
 .
. - Add the same chart multiple times but customize it to view the data for different date ranges, sports, or in a different way.
- The Performance Manager Chart allows you to model your Fitness, Fatigue, and Form to help you plan the perfect peak for your athlete's goal Event.
Discover the top 7 charts for coaches.
5. ATP (Annual Training Plan)
The ATP, or Annual Training Plan, is where you will go to create a seasonal road map to help guide your planning. The automatic ATP generator is based on Joe Friel's methodology using periods such as Base 1-3, Build 1 and 2, and Peak. You can also create a manual ATP wth your own custom period names. In addition, ATPs can be created based on weekly hours, weekly training stress score, and target Chronic Training Load for that event.
-
Create new ATP

- Select existing ATP
- Edit current ATP

- Adjust ATP Settings
Learn more about Annual Training Plan Methodologies and How to Plan Your Season with Training Stress Score
6. Athlete Library
-
Add new Athlete or Group
- Load athlete 'card'
-
Athlete Account Settings
- Share
 , Unshare
 , or Remove
  athlete from your account
Athlete Account Settings
Profile
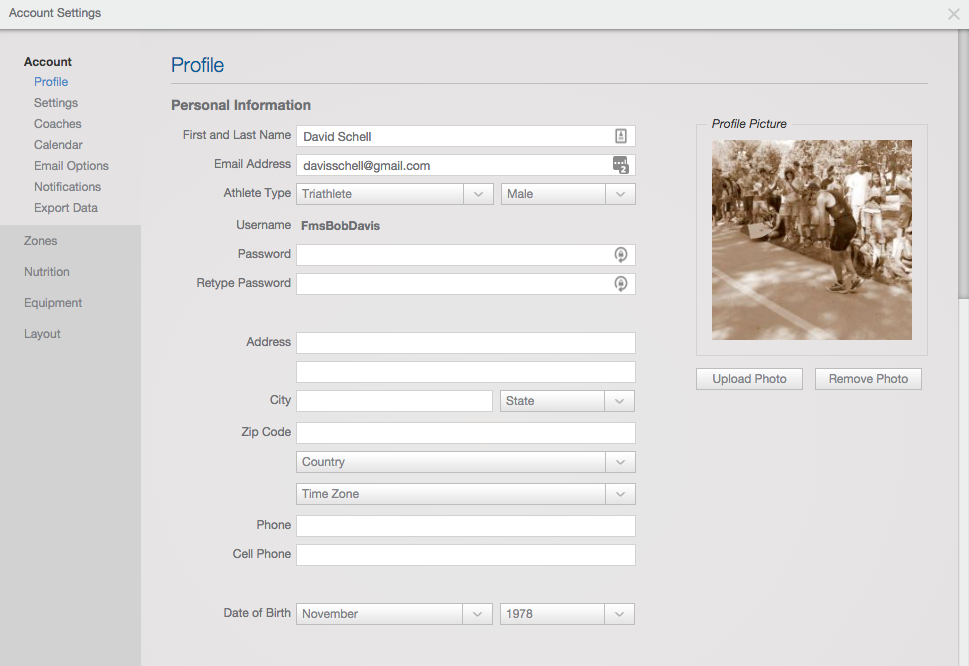
- Update athlete's personal information (Name, address, birthdate, etc.)
- Upload a profile photo
- Update/Verify athlete's email address (email address must be verified to receive daily workout emails, notifications, and/or newsletter)
- Change athlete's Password
Settings
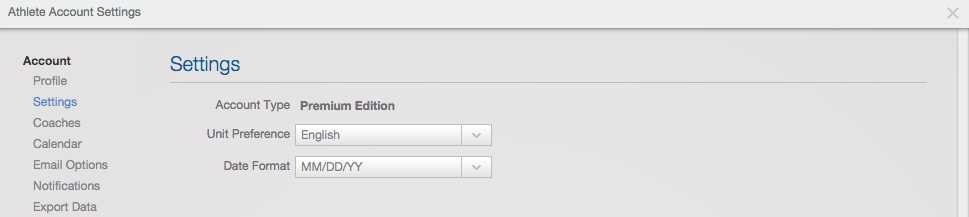
- Change Unit Preference (i.e. English/Metric)
Coaches
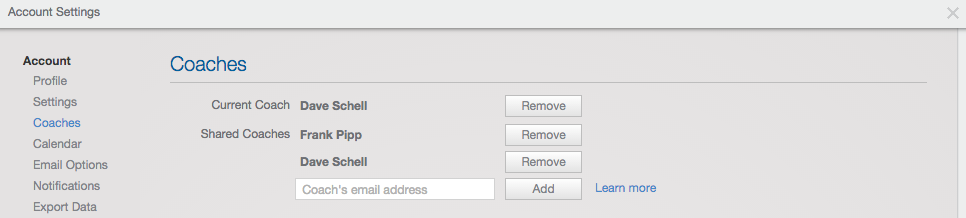
See which coach(es) the athlete is currently attached to or shared with. Add a coach, share athlete with a coach, or remove coaches.
Calendar
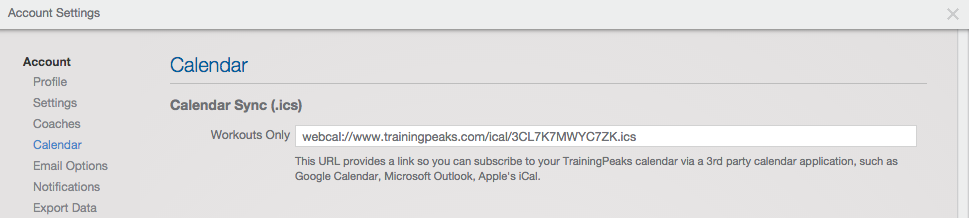
- Paste this url into your Google, Outlook, Apple, or other third party calendar to sync athlete's TrainingPeaks workouts to that calendar
Email Options
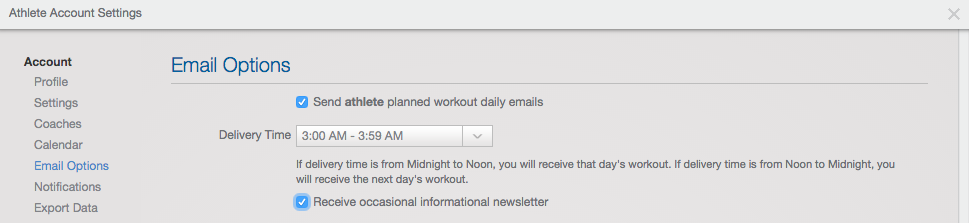
- Enable email of daily planned workouts, change delivery time, and opt in for the TrainingPeaks newsletter
Notifications
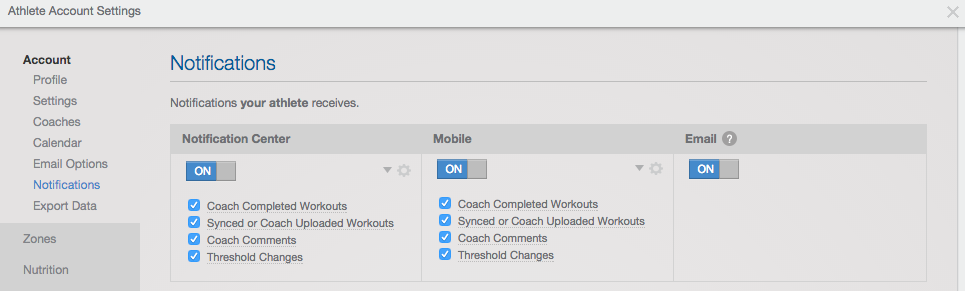
- Enable/Disable notifications such as uploaded workouts, comments from you, or suggested threshold changes
Zones
Heart Rate, Power, Speed/Pace
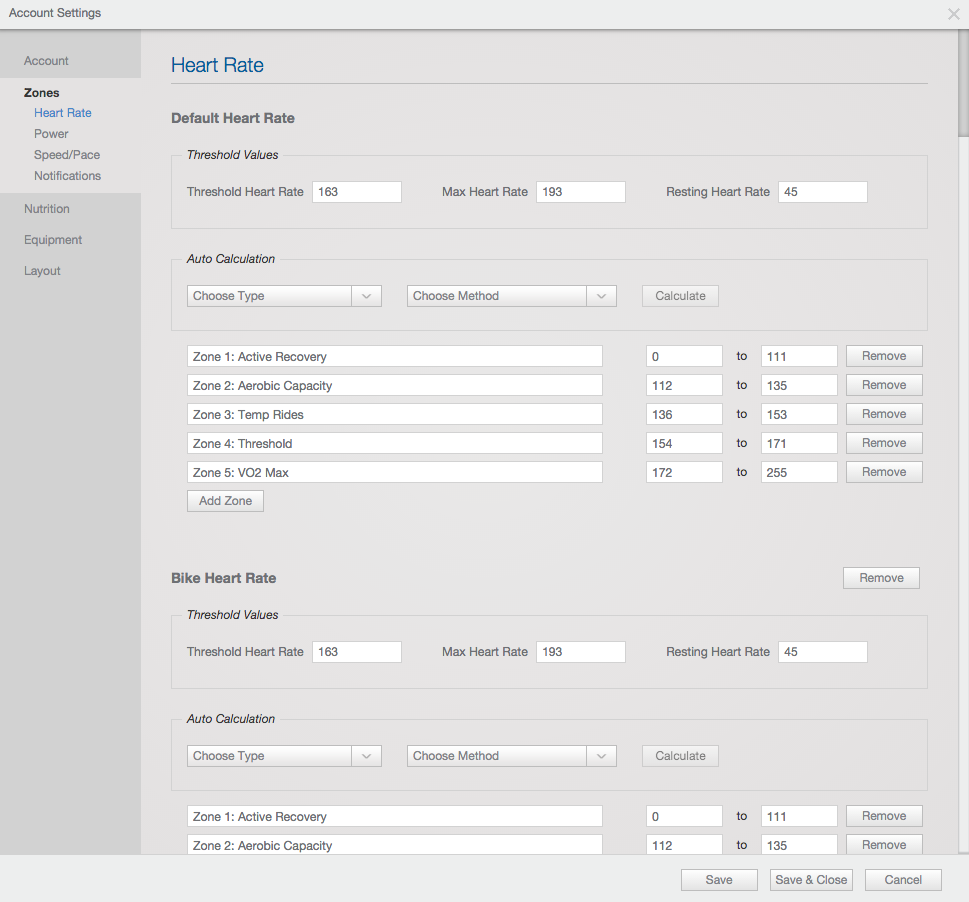
-
Set athlete's thresholds and zones
- Typically
- Heart Rate for Bike and Run
- Power for Bike
- Speed/Pace for Run and Swim
- Note: if you do not set a threshold for a specific sport and upload that sport type 'default' will be used.
- Note: Setting athlete's thresholds and zones is extremely important since all of the TrainingPeaks metrics are based on thresholds.
Notifications

- Enable/Disable Threshold Notifications
- Enable/Disable 'Automatically apply new threshold'
Nutrition

Enter a daily calorie goal based on how many calories you want the athlete to consume exluding those that they would burn through exercise,. This number will be combined with the caloric expenditure from exercise and displayed in dashboard charts that display calories consumed vs calories expended
Equipment
Bikes/Shoes
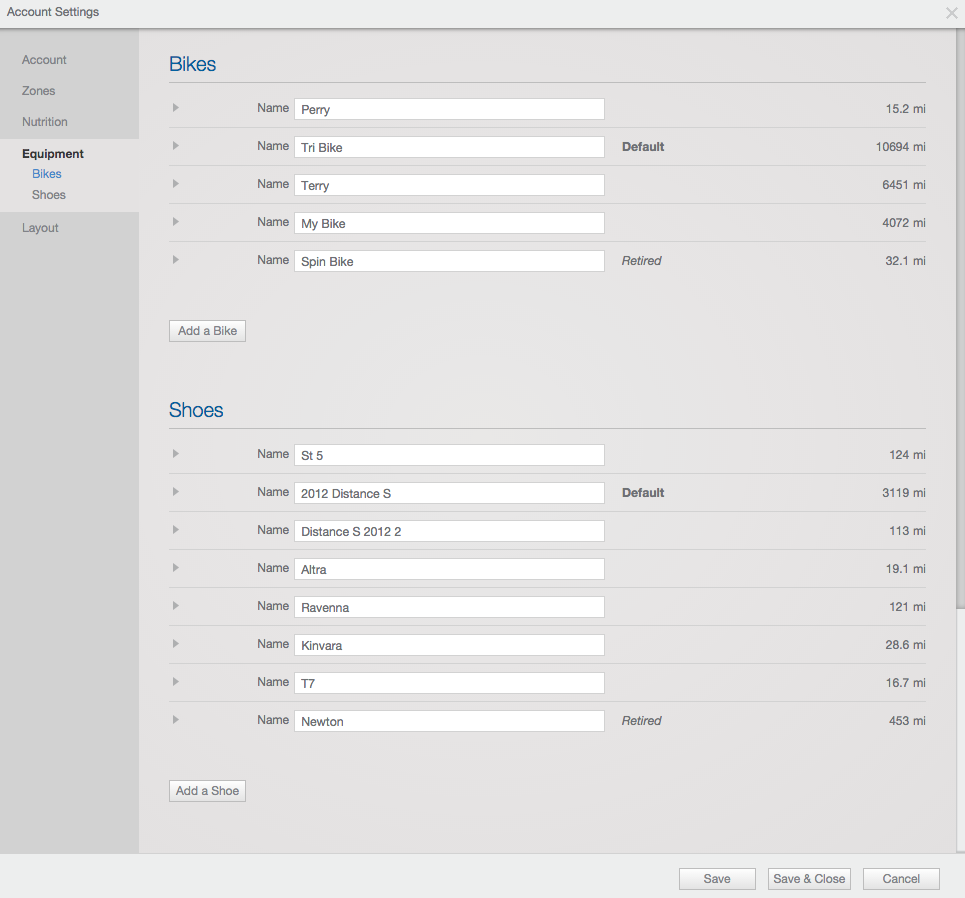
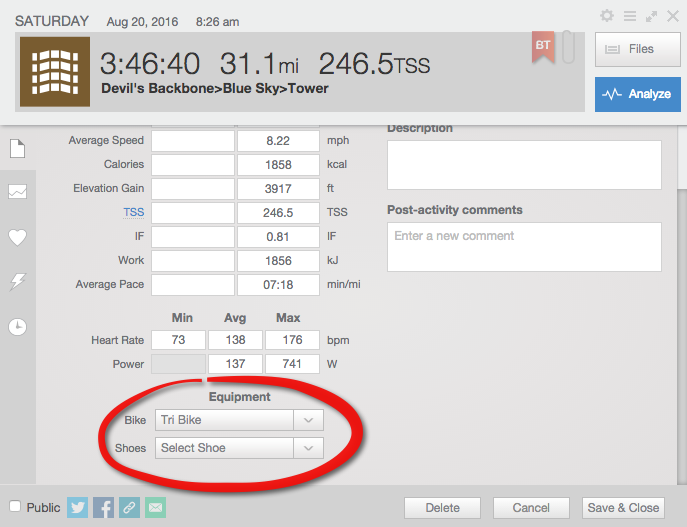
Add bikes and/or shoes to track the mileage. Equipment can be selected from the workout QuickView and mileage will automatically accrue based on completed workouts
Layout
'Layout' allows you to customize what the athlete sees on their calendar, the week summary, QuickViews, and what metrics are available.
Calendar
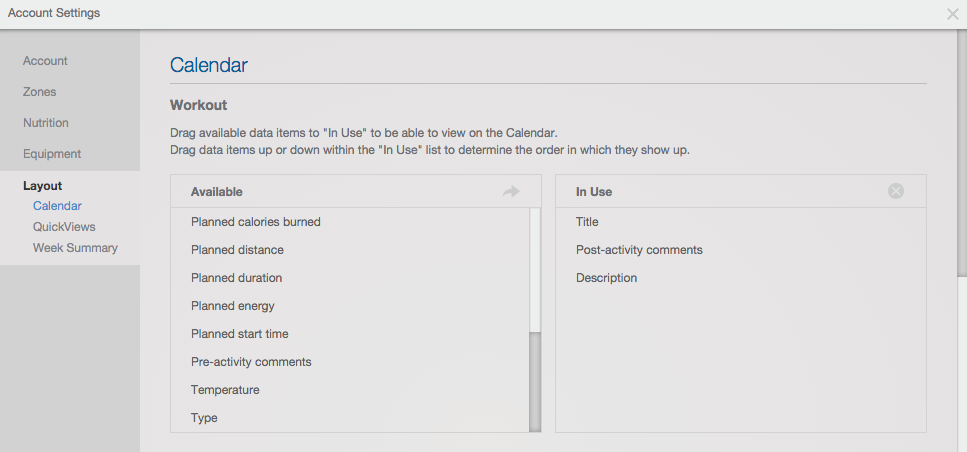
- Moving data items from 'available' to 'in use' will make them visible on your athlete's calendar.
Compliance
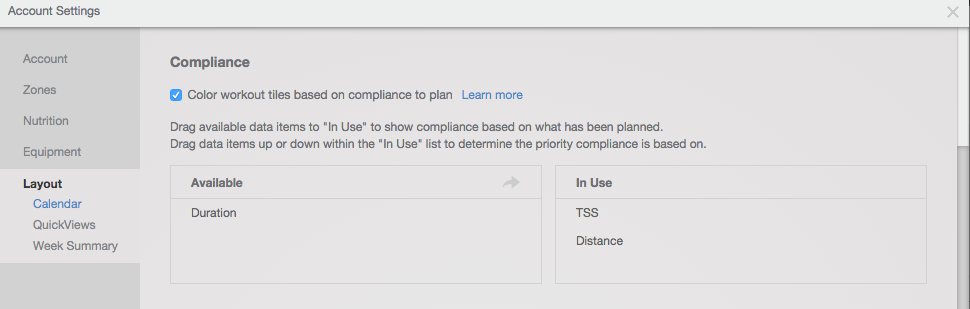
Completed workouts will colorize based on compliance with planned duration, distance, or TSS. Moving the data item up or down in the list prioritizes it with top being given top priority.
Within 20% the workout will turn green, within 50% it will turn yellow, and over or under by more than 50% will turn red.

QuickViews
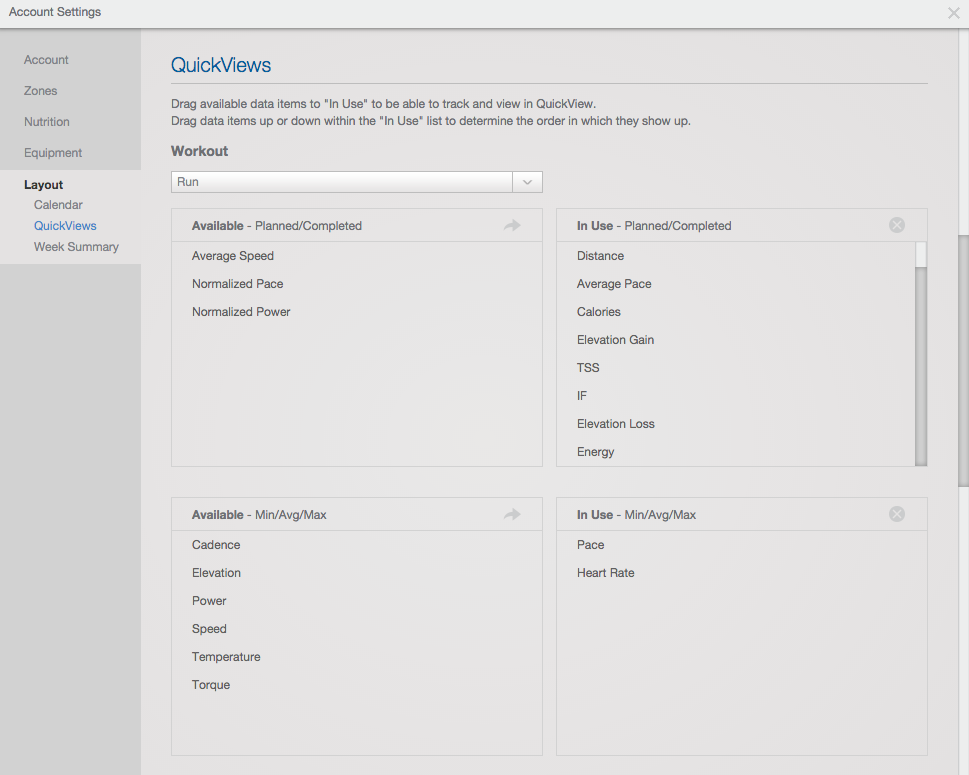
Dragging data items from 'Available' to 'In Use' makes the fields visible in the workout QuickViews.
These settings are sport specified allowing QuickViews to be configured differently for different sport types.
Metrics
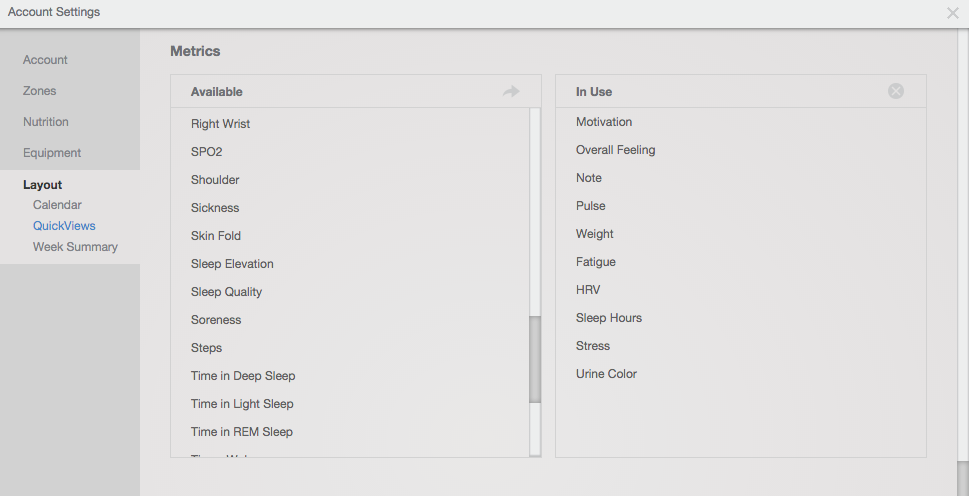
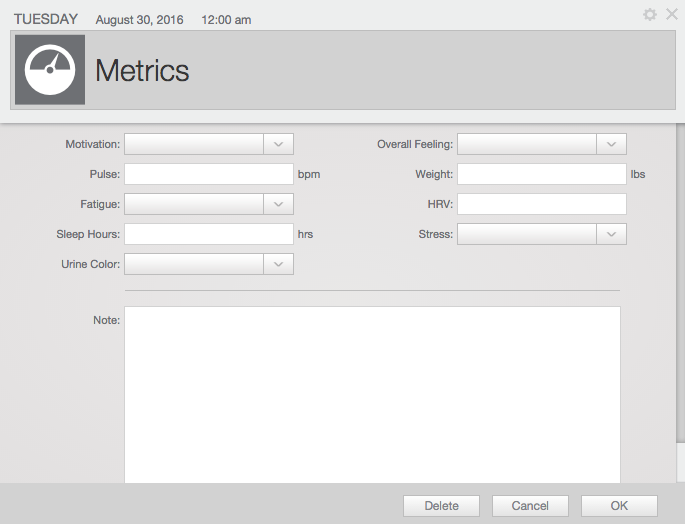
Dragging metrics from 'available' to 'In Use' makes the metrics available to your athlete when adding a metric on their calendar.
Week Summary
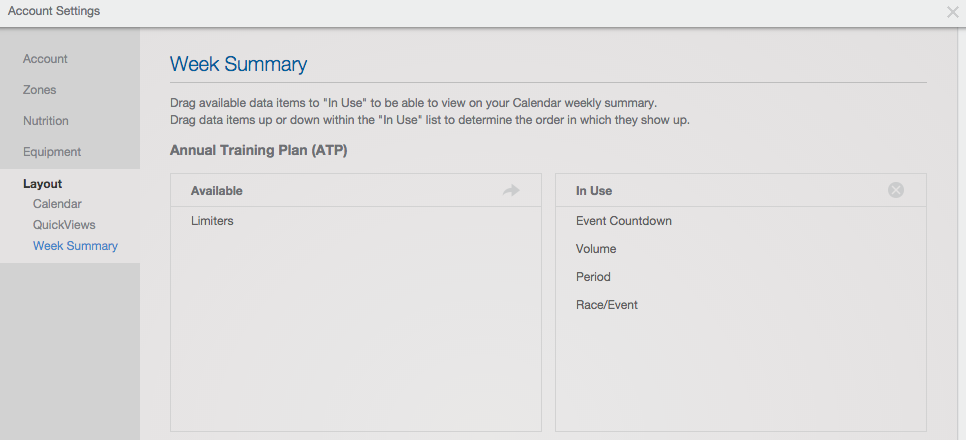
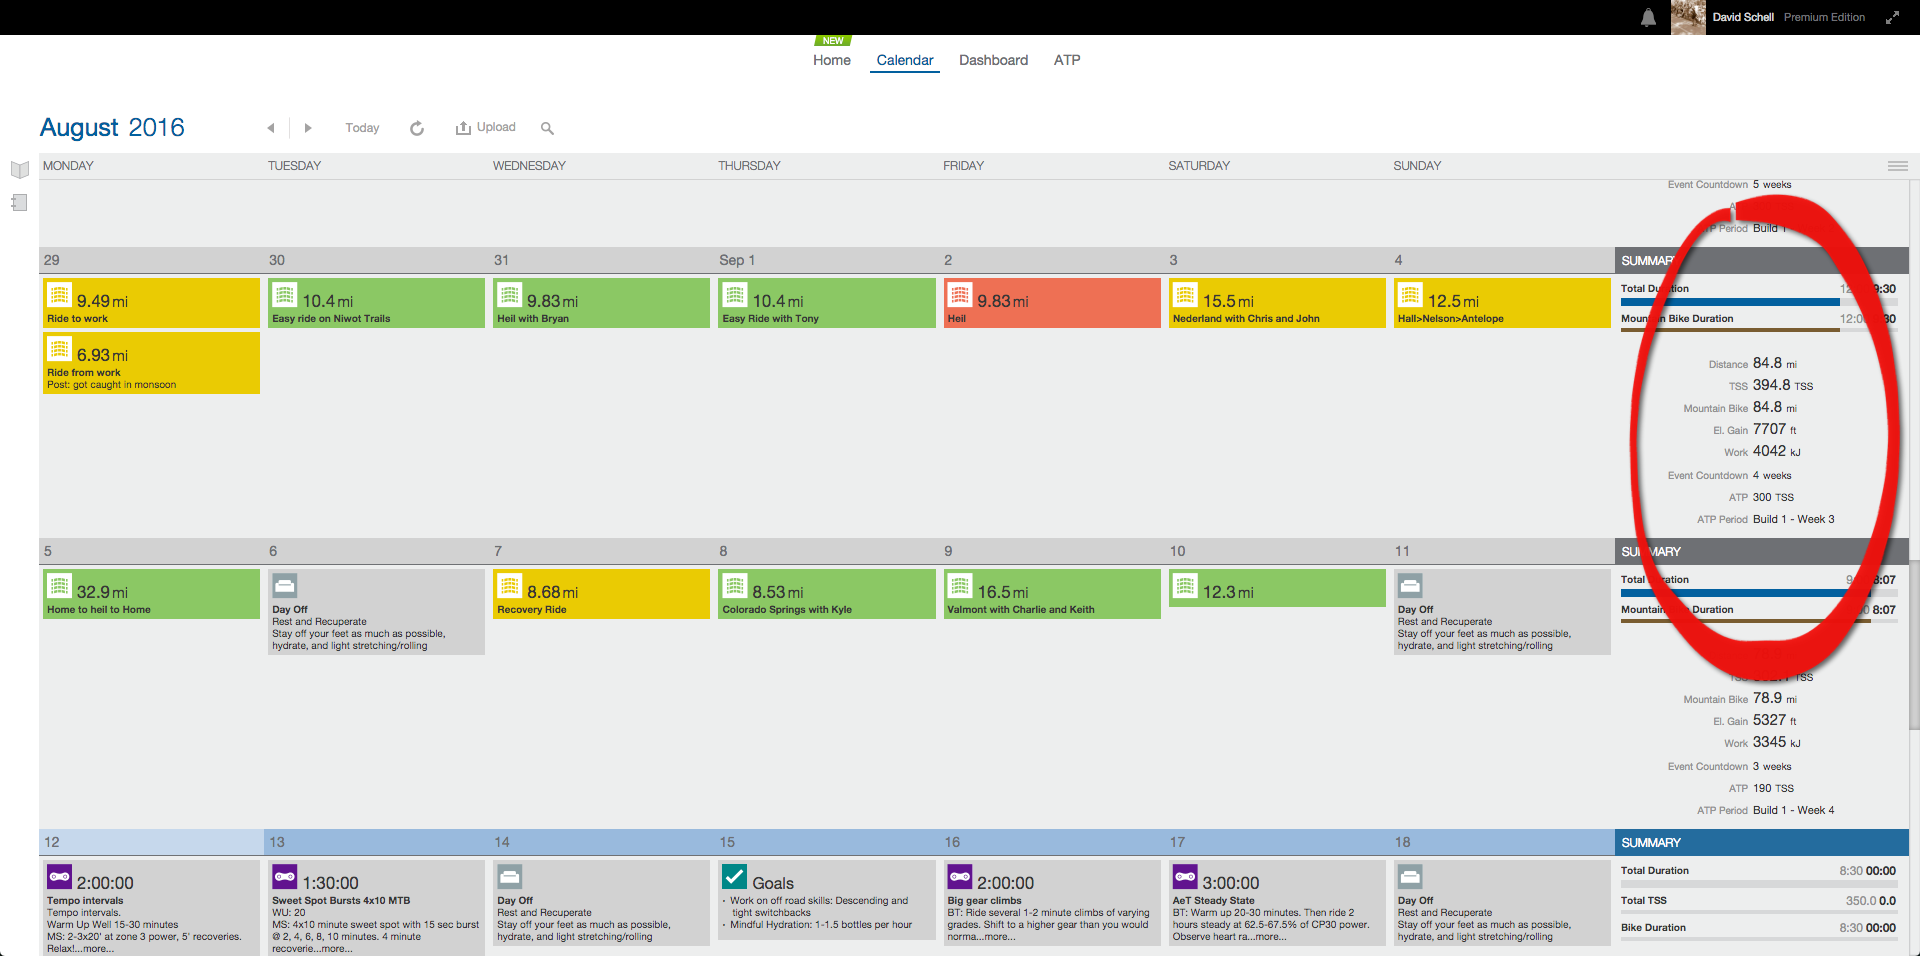
Dragging ATP items from 'Available' to 'In Use' makes the items visible on the right side of your athlete's calendar.
Note: You must have a completed Annual Training Plan (ATP) for the athlete for these items to appear.
7. Workout Library
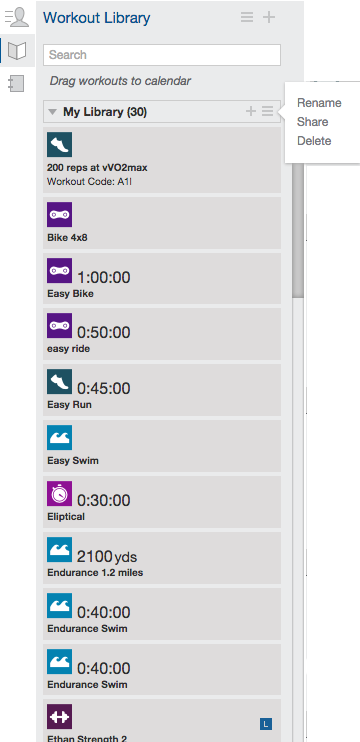
Click the + icon to create a new workout library.
- Save workouts created on your calendar to your workout library by dragging and dropping into the library
Rename a workout library by clicking the
 hamburger icon
8. Training Plan Library
Create Training Plans which can be applied to athletes or sold in the TrainingPeaks plan store.
- Typically
If you need further assistance, check out the Get Started web page or contact our support team here.